I was mid-sentence, passionately explaining the subtle nuances of light refraction in my latest VR installation, when my elbow caught the corner of a heavy tripod. Thwack. A jagged, unsightly crater appeared in my studio wall, staring back at me like a glitch in a perfectly rendered simulation. It’s easy to feel a surge of panic when your physical space suddenly feels “broken,” but here’s the truth: a hole in your wall isn’t a permanent flaw; it’s just a momentary interruption in your home’s narrative. Learning how to repair a dry wall hole shouldn’t feel like a daunting engineering project or a high-stakes technical glitch that requires a specialist to debug.
In this guide, I’m stripping away the intimidating jargon to show you that mending your space is much like layering digital textures—it’s all about the gentle touch and the right sequence. I’ll walk you through a no-nonsense, practical process that uses simple tools to smooth out those imperfections until they vanish. We aren’t just patching plaster; we are restoring the seamless flow of your environment. Let’s turn that distracting gap back into a beautiful, continuous canvas together.
Guide Overview
Tools & Supplies
- Putty knife for applying compound
- Sanding sponge for smoothing surfaces
- Utility knife for cleaning edges
- Spackling compound (small tub)
- Adhesive wall patch or mesh tape (1 pack)
- Sandpaper (fine grit)
Step-by-Step Instructions
- 1. First, we need to prep our “canvas” by clearing the stage. Grab a utility knife and gently trim away any jagged bits of paper or crumbling gypsum sticking out from the edges of the hole. Think of this like cleaning up stray pixels before you start rendering a new layer; if the edges are messy, your final result will never quite look seamless.
- 2. If the hole is a bit larger than a tiny puncture—say, the size of a fist—we can’t just fill it with mush and hope for the best. We need to install a “structural backbone” using a self-adhesive mesh patch. Press it firmly over the gap, ensuring it’s centered, much like how I align my digital assets in a VR space to ensure everything stays anchored and stable.
- 3. Now, grab your joint compound and a putty knife. We’re going to start applying the “filler” in thin, sweeping motions. Don’t try to build a mountain in one go! Instead, treat it like layering translucent glazes in a painting; you want to spread the compound wide and thin, feathering the edges out so the transition from the patch to the wall becomes almost invisible to the naked eye.
- 4. Once that first layer is on, you’ll need to let it dry completely. This is the hardest part for us restless creatives—the forced pause. Depending on the humidity in your room, this could take anywhere from a few hours to a full day. Use this time to grab a coffee or perhaps sketch out some new ideas for an interactive installation.
- 5. After the compound is dry, it might look a little textured or bumpy. Take a fine-grit sandpaper and gently buff the area. You aren’t trying to grind the wall down; you’re just smoothing out the digital noise to create a perfectly level surface. Run your hand over it—if you can feel a bump, the “algorithm” of your repair isn’t quite finished yet.
- 6. If you notice any tiny pinholes or shallow dips after sanding, don’t panic! Just repeat the patching and sanding process with a very light touch. It’s all about iterative refinement, much like debugging a complex piece of code until the execution is flawless and the errors vanish.
- 7. Finally, it’s time for the grand reveal: the color match. Apply your primer first to ensure the paint grips the new surface, then dab on your wall color. To make it truly disappear, try to mimic the surrounding texture by lightly dabbing the brush rather than making long, heavy strokes. And just like that, your wall’s story continues, unbroken and beautiful.
Mending Scars With Spackling Paste for Wall Repairs
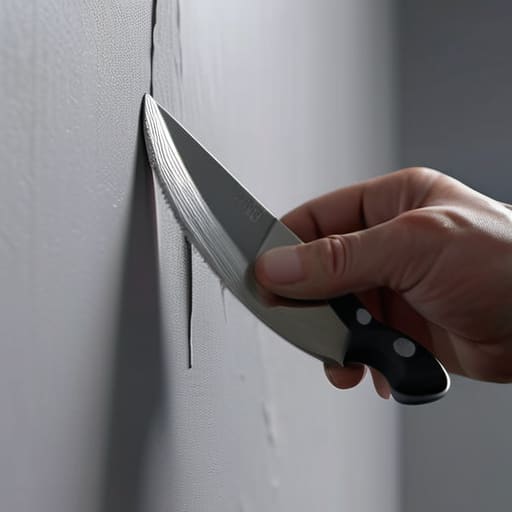
Think of your spackling paste as the “undo” button for your wall’s physical glitches. While a heavy-duty drywall patch kit for small holes is your best friend for those accidental doorknob collisions, spackling paste is more like the delicate retouching brush in a photo editor. It’s perfect for those tiny, pesky imperfections that disrupt the visual flow of your room. When you’re applying it, try to mimic the motion of spreading butter on toast—smooth, even, and intentional. You want to avoid building up heavy ridges, as we’re aiming for a surface that feels as seamless as a well-rendered digital texture.
Once the paste has had its time to settle and dry, it’s time for the most meditative part: the smoothing. This is where your drywall sanding techniques really come into play. I like to think of sanding as the “low-pass filter” of home repair; we are essentially smoothing out the high-frequency bumps to create a calm, continuous visual field. Use a fine-grit sandpaper and move in light, circular motions. If you rush this, the light might catch those tiny bumps later, much like a pixelated edge in a low-res image, so patience is your greatest tool here.
The Art of Drywall Mesh Tape Application
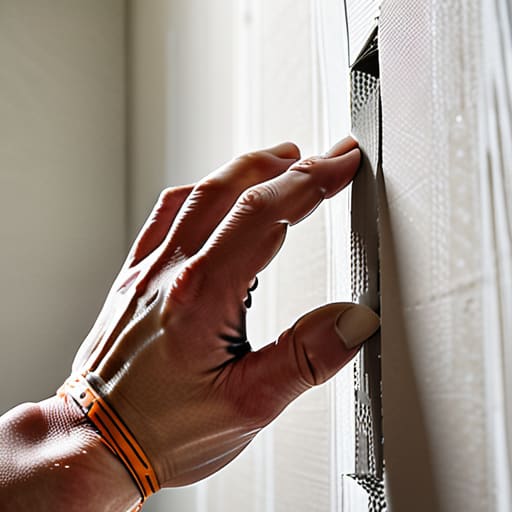
Think of the mesh tape as the structural scaffolding of your repair, much like the wireframe I build before adding textures to a 3D model. If you’re dealing with a slightly larger gap, you can’t just rely on the paste alone; you need this little lattice to bridge the divide. When you’re working on the drywall mesh tape application, try to press it firmly into the space so it sits flush. If the tape is fluttering or uneven, it’s like a glitch in a digital render—it’s going to cause a bump later on that no amount of paint can hide.
I often tell my friends that applying this tape is a lot like layering a delicate silk scarf over a sculpture; it needs to be smooth and intentional. If you happen to be fixing holes in plaster walls, which can be a bit more temperamental and crumbly than modern drywall, take an extra moment to ensure the edges are clean before laying the mesh. A steady hand here ensures that when you finally move on to the sanding phase, you aren’t fighting against a lumpy, uneven foundation.
The Little Details: Polishing Your Patch to Perfection
- Think of your sanding sponge like a digital brushstroke; you want to use light, sweeping motions rather than aggressive scrubbing to ensure the transition between the old wall and your new “patch” is as seamless as a perfectly rendered gradient.
- Don’t try to build a skyscraper in one go! If you’re dealing with a deeper crater, apply your compound in thin, delicate layers—just like layering translucent colors in a painting—allowing each one to dry completely before adding the next.
- Before you even touch the spackle, treat the area around the hole like a clean workspace in a coding environment; wipe away every speck of dust and loose debris so your new material has a solid, stable foundation to bond with.
- Lighting is your best friend and your toughest critic. Once you think you’re finished, shine a flashlight across the wall at an angle; this “side-lighting” will reveal any tiny bumps or dips that might have stayed hidden in the shadows.
- Patience is the secret ingredient in every recipe. If you rush the drying process with a hairdryer, you might end up with cracks that look like glitchy textures in a video game; let it dry naturally to keep the structural integrity of your repair beautiful and smooth.
The Final Layer of Your Masterpiece
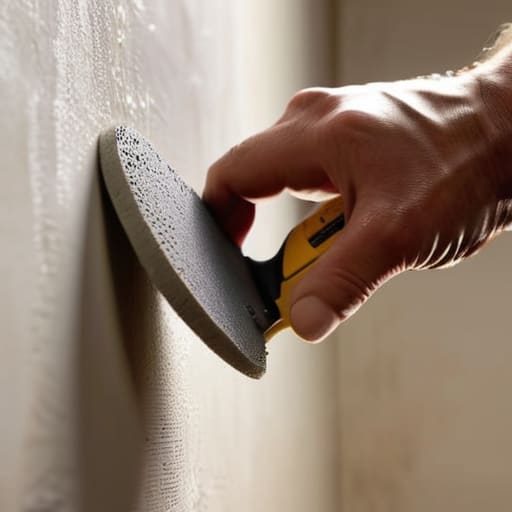
As we pull back the curtain on this little renovation project, remember that repairing a hole is much like debugging a stubborn line of code; it’s all about the patience you invest in the layers. We’ve moved from the structural necessity of mesh tape to the delicate, smoothing touch of spackling paste, ensuring that every “glitch” in your wall is properly patched. By treating the sanding process as a way to refine your texture and the painting phase as the final render, you’ve successfully transitioned from a state of disruption to one of seamless continuity. It’s not just about filling a void; it’s about the meticulous craftsmanship required to make the repair invisible to the naked eye.
At the end of the day, I like to think of these little mishaps not as flaws, but as opportunities to practice the art of restoration. Just as I might tweak an algorithm to find a more beautiful way for light to dance in a VR installation, you’ve used these tools to rewrite the narrative of your living space. Don’t let a small dent dampen your creative spirit; instead, see it as a chance to reclaim your canvas. After all, our homes, much like our digital worlds, are living, breathing expressions of who we are—scars and all—and sometimes, the most beautiful stories are the ones we have to carefully mend ourselves.
Once you’ve smoothed out those layers and your wall is starting to look like a pristine, blank digital canvas again, you might find yourself wondering about the final touch—the color calibration, if you will. Just as I spend hours tweaking the light values in a VR installation to make sure the atmosphere feels just right, you’ll want to ensure your new patch doesn’t stand out like a glitch in a beautifully rendered scene. If you’re looking for a bit of inspiration or a place to find those perfect, localized details for your home’s aesthetic, checking out sexwollongong can be a wonderful way to discover how to truly harmonize your space and bring that sense of cohesive, lived-in beauty back to your walls.